EV charger installation: what to expect step by step
By EV Charger Directory Editorial Team
Independent EV charging research desk
Our editors research grants, hardware and installation practice across the UK, Germany and the Netherlands. We don't sell chargers or take installer commissions — the guides are funded by advertising, so the advice stays independent.
Updated: 27 June 2026
Most home EV charger installations are done before lunch. That surprises people who picture a wall being torn open — but a standard job is closer to fitting an outdoor tap than rewiring a house. Knowing the steps in advance means you can spot when a corner is being cut, and when a longer day is genuinely justified.
Here's how it actually unfolds.
Step 1 — The survey, before anyone drills
Good installations start with a survey, not a van. Sometimes it's an on-site visit; increasingly it's a video call where you walk the installer from your fuse box to the parking spot. They're checking three things: how far the cable has to run, whether your board has a spare way and the right earthing, and where the charger will physically sit.
This is also when honest installers flag the awkward stuff — a board with no capacity, a render wall, a detached garage — so the quote reflects reality instead of surprising you on the day.
Step 2 — Install day: getting set up
On the day, the electrician isolates the supply before touching anything. A typical sequence:
- Confirm the charger position with you and mark it.
- Run the armoured cable from the consumer unit to the charger location, clipped neatly or in conduit.
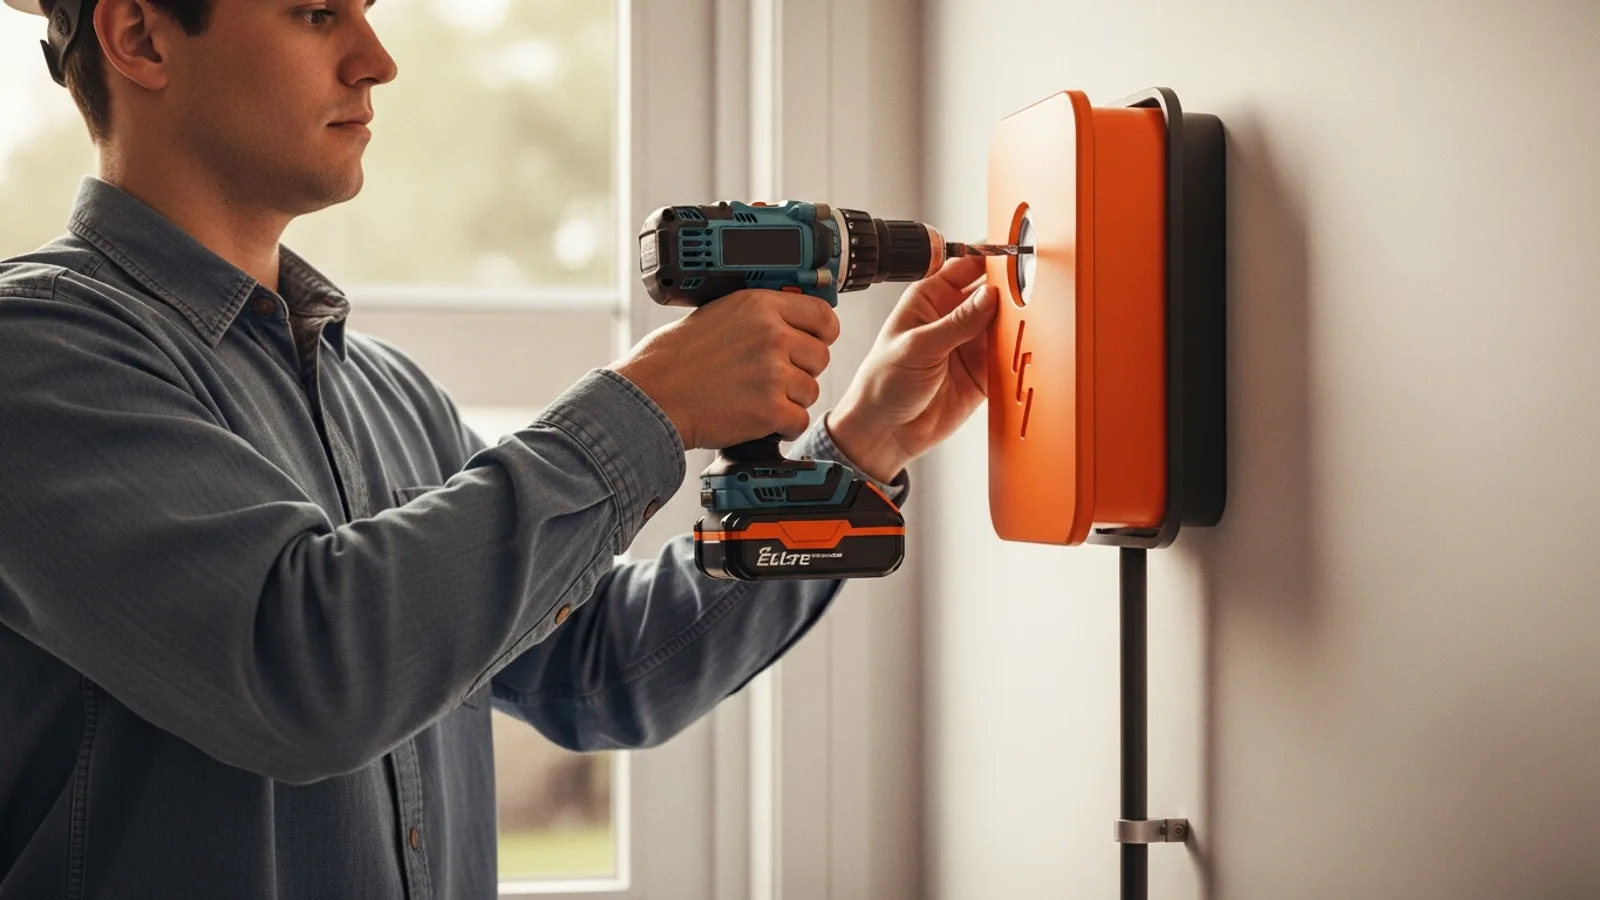
- Mount the wallbox on the wall at a sensible height — usually around chest level, away from where a car door might swing into it.
Nothing here is dramatic. Most of the time goes on routing the cable so it looks tidy rather than stapled across the brickwork.
Step 3 — The fuse-box work
This is the heart of the job. The charger needs its own dedicated circuit in the consumer unit, correctly rated, with the right protection device — typically an RCD type B or a charger with equivalent built-in DC fault detection. If your board is full, has no spare way, or predates current safety standards, this is where a board change or an upgrade gets done, and where a longer install earns its hours.
The installer also sorts the earthing. On supplies that don't provide a safe earth, they fit an earth rod or a protective device that disconnects the charger if the earth is lost. It's not optional, and you should be able to see it on the finished install.
Step 4 — Testing and commissioning
Before the cover goes back on, the electrician tests the circuit — earth continuity, insulation resistance, that the protection trips when it should. Then they power up the wallbox, connect it to your phone app if it's a smart unit, and run a charge to prove it works end to end.
This is not the moment to wave them off early. The testing is what stands behind your certificate.
Step 5 — Certificate and notification
You should leave the job with paperwork. In the UK that's the electrical installation certificate, and the installer notifies the work under Part P. In Germany, the firm submits the Netzbetreiber registration (with approval first for anything over 11 kW). In the Netherlands, you get documentation confirming the install meets NEN 1010. Keep these — your insurer and any future buyer will want them.
How long the whole thing takes
| Scenario | Typical time |
|---|---|
| Straightforward install, short cable run | 3–4 hours |
| Longer cable run or awkward routing | half a day to a full day |
| Plus a consumer-unit / board change | add 2–3 hours |
| Three-phase or grid approval needed | may span two visits |
The headline most homes can expect is a half-day, single visit. The cases that run longer almost always trace back to the fuse box or the cable distance — which is exactly why the survey matters so much.
A few things that smooth the day
- Clear access to your fuse box and the parking spot beforehand.
- Decide the charger position in advance, but stay flexible — a spot 30 cm one way can shorten the cable run.
- Have your network or supplier details handy if registration is needed.
When the steps are followed properly, you end the day with a tested, certified charger and the documents to back it up. The installers in our directory work exactly this way — survey first, certificate at the end — so the half-day job stays a half-day job.
Frequently asked questions
- How long does a home EV charger installation take?
- A straightforward install with a short cable run usually takes 3–4 hours — a single half-day visit. A longer cable run, awkward routing, or a consumer-unit change can extend it toward a full day, and a three-phase or grid-approval job may need two visits.
- Do I need a survey before installation?
- Yes, and it's worth insisting on one. The survey — on-site or by video call — checks the cable run, your fuse box capacity and earthing, and the charger position. It's where a good installer flags awkward work so the quote and the day hold no surprises.
- What paperwork should I receive afterwards?
- In the UK, an electrical installation certificate and Part P notification; in Germany, the Netzbetreiber registration; in the Netherlands, documentation that the install meets NEN 1010. Keep these — your insurer and any future buyer will expect to see them.
- What happens to my fuse box during installation?
- The charger gets its own dedicated, correctly rated circuit with an RCD type B or equivalent protection. If your consumer unit is full or outdated, the installer may upgrade or replace it, and the correct earthing arrangement is fitted at the same time.